 <view  @click="handlego">点击订阅</view>
onMounted(async () => {getToken()handleLogin()
})const messToken = ref('')
const openid = ref('')// 获取接口调用凭证
function getToken() {return wx.request({url: 'https://api.weixin.qq.com/cgi-bin/token',method: 'get',data: {grant_type: 'client_credential',  // 写死appid: '',secret: '',},success: (res) => {messToken.value = res.data.access_token},fail: (err) => {},})
}// 登录 获取openid
function handleLogin() {uni.login({success: (res) => {uni.request({url: 'https://api.weixin.qq.com/sns/jscode2session',method: 'get',data: {grant_type: 'authorization_code',appid: '',js_code: res.code,  // 登录凭证secret: '',},success: (res) => {openid.value = res.data.openid},fail: (err) => {},})},})
}// 触发订阅
async function handlego() {wx.requestSubscribeMessage({tmplIds: ['template_id'], // 替换为实际模板IDsuccess: (res) => {if (res['template_id'] === 'accept') {console.log('用户同意订阅')// 调用接口,传递用户数据和模板参数
          sendToBackend()} else {console.log('用户拒绝授权')}},fail: (err) => {console.error('订阅失败', err)},})}// 发送消息
function sendToBackend() {wx.request({url: `https://api.weixin.qq.com/cgi-bin/message/subscribe/send?access_token=${messToken.value}`,method: 'POST',data: {access_token: messToken.value,touser: openid.value, //  openidtemplate_id: '',   // 消息模版idpage: 'pages/index/index', // 用户点击消息跳转的页面
      data: {name1: { value: '吕明' }, // 模板字段需与后台配置一致thing6: { value: '666项目' }, // 模板字段需与后台配置一致date5: { value: '2025-09-09 12:00' },},},success: (res) => {console.log('后端处理成功', res.data)},fail: (err) => {console.error('后端请求失败', err)},})
}
官方文档:
https://developers.weixin.qq.com/miniprogram/dev/framework/open-ability/subscribe-message.html#%E8%AE%A2%E9%98%85%E6%B6%88%E6%81%AF%E8%AF%AD%E9%9F%B3%E6%8F%90%E9%86%92
步骤:
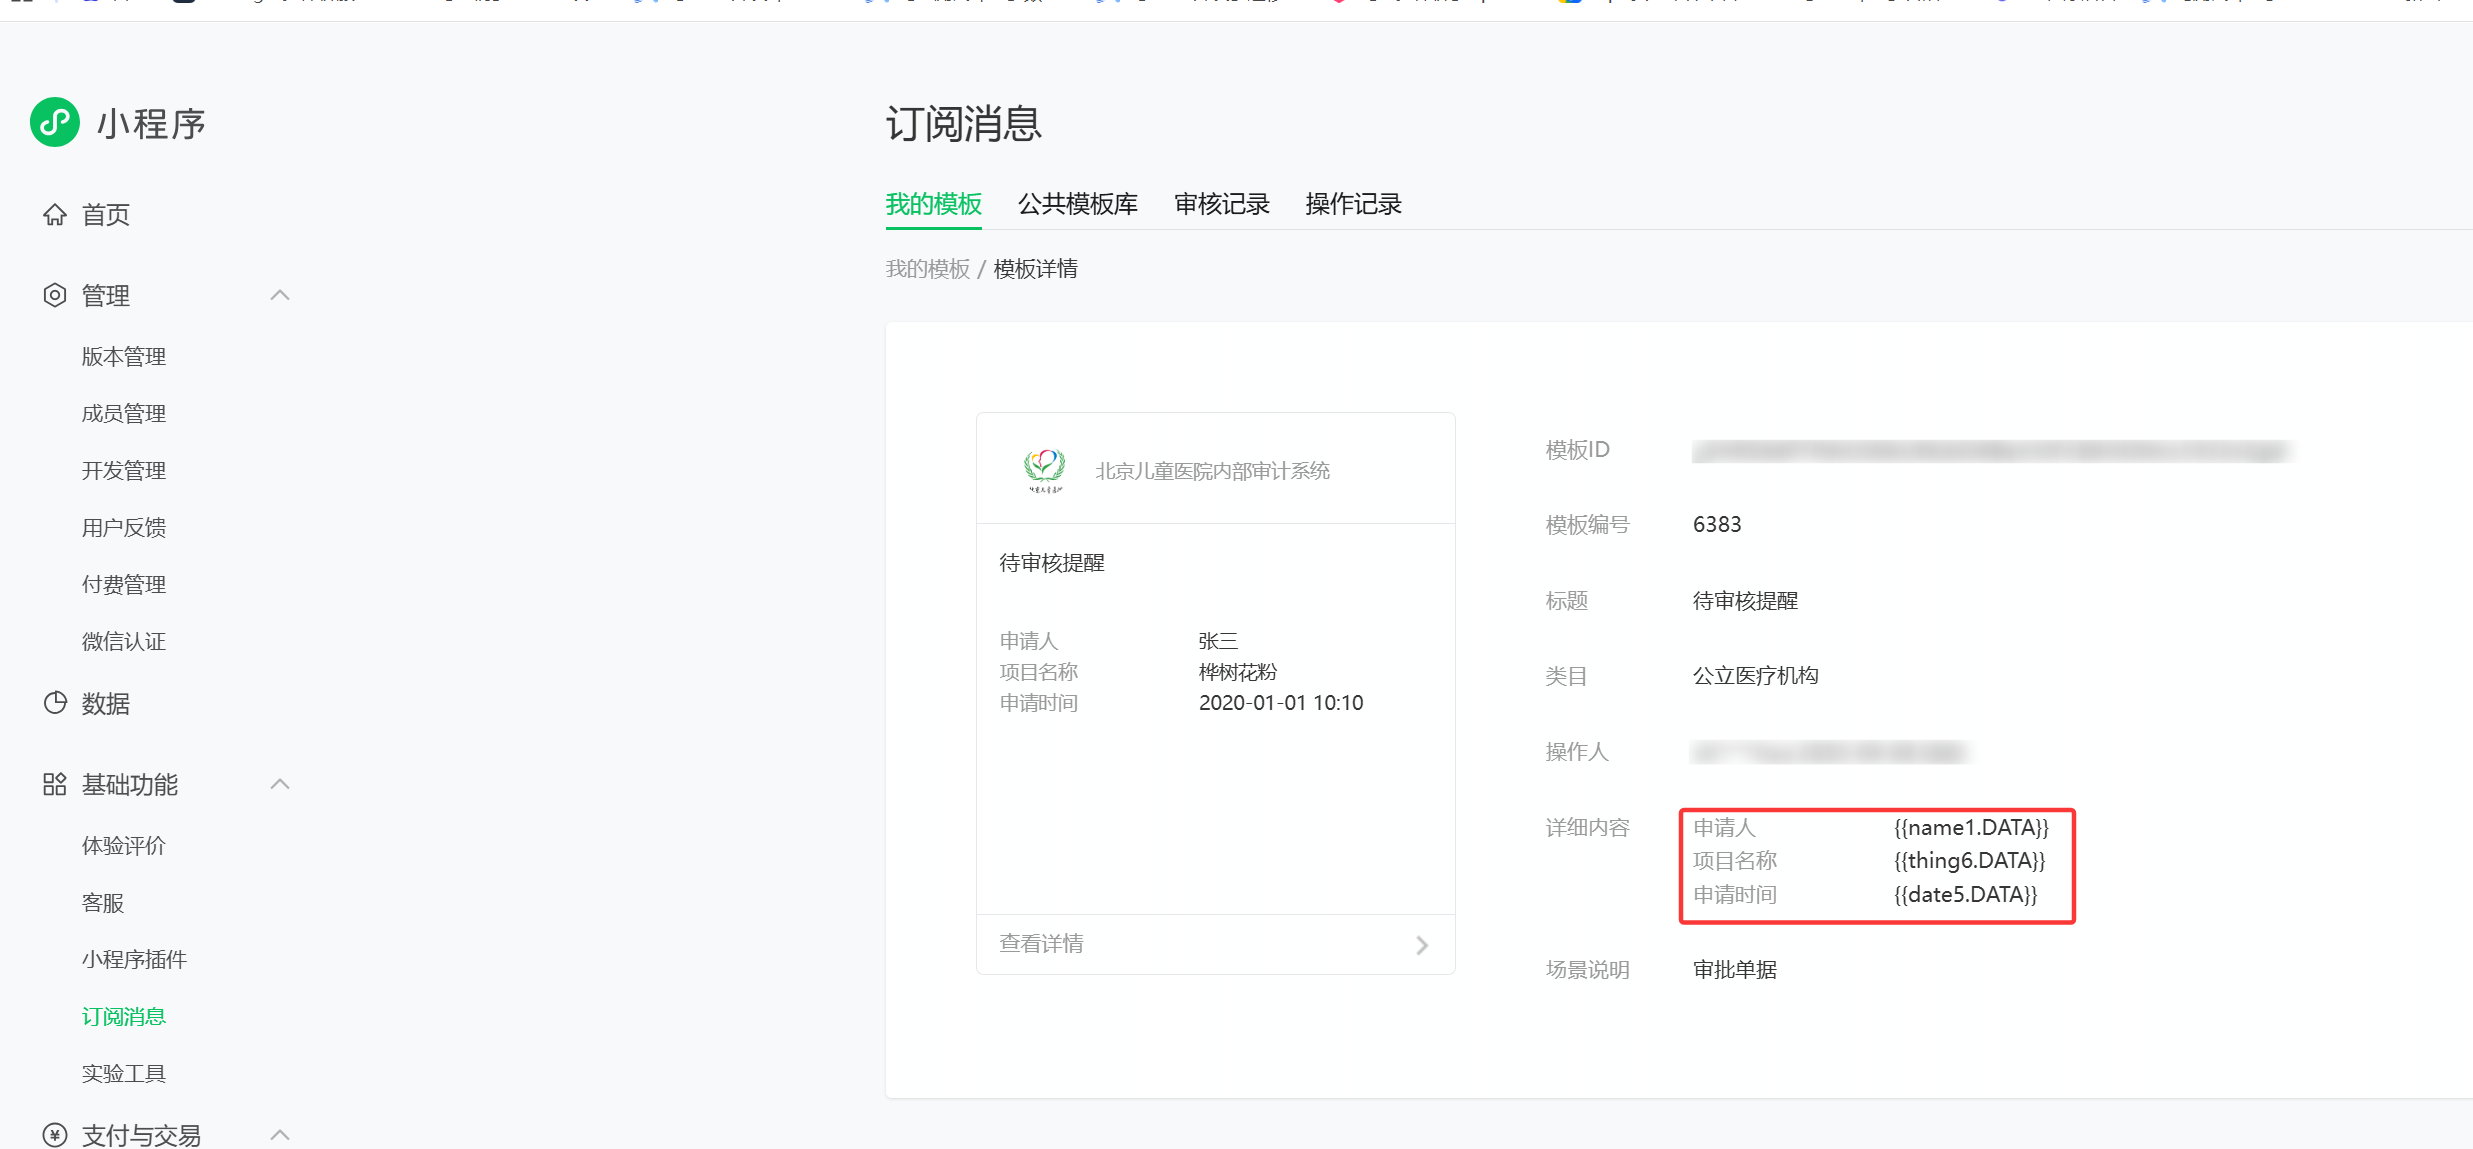
1. 在小程序后台,订阅消息里面选用消息模版,注意勾选字段。
2. 代码我用的vue3uniapp,使用效果如图:
