实用指南:ArcGIS JSAPI 高级教程 - 高亮效果优化之开启使用多高亮样式
ArcGIS JSAPI 高级教程 - 高亮效果优化之开启使用多高亮样式
- 完整代码
- 在线示例
本文主要介绍一下高亮效果的更新优化,包括帮助在场景中添加最多六个高亮配置对象以及在线示例。
完成三种高亮效果:标绘框选图形高亮、选中的几何体高亮、鼠标悬浮高亮。
本文包括 完整代码以及在线示例。
完整代码
<html lang="en"><head><meta charset="utf-8"/><meta name="viewport" content="initial-scale=1,maximum-scale=1,user-scalable=no"/><title>框选显示高亮对象 | Sample | ArcGIS Maps SDK for JavaScript 4.33</title><script type="module" src="https://openlayers.vip/arcgis_api/calcite-components/2.8.1/calcite.esm.js"></script><link rel="stylesheet" type="text/css"href="https://openlayers.vip/arcgis_api/calcite-components/2.8.1/calcite.css"/><!-- 引入ArcGIS JS API样式和脚本 --><link rel="stylesheet" href="https://openlayers.vip/arcgis_api/4.33/esri/themes/light/main.css"/><script src="https://openlayers.vip/arcgis_api/4.33/init.js"></script><script>var _hmt = _hmt || [];(function () {var hm = document.createElement("script");hm.src = "https://hm.baidu.com/hm.js?f80a36f14f8a73bb0f82e0fdbcee3058";var s = document.getElementsByTagName("script")[0];s.parentNode.insertBefore(hm, s);})();</script><script>require(["esri/Map","esri/views/SceneView","esri/rest/support/Query","esri/widgets/Legend","esri/core/reactiveUtils","esri/layers/GraphicsLayer","esri/layers/FeatureLayer","esri/widgets/Sketch/SketchViewModel","esri/smartMapping/renderers/color",],(Map,SceneView,Query,Legend,reactiveUtils,GraphicsLayer,FeatureLayer,SketchViewModel,colorRendererCreator,) => {// 添加要素图层const stateBoundaryFeatureLayer = new FeatureLayer({url: 'https://gs3d.geosceneonline.cn/server/rest/services/Hosted/ShangHaiBuilding/FeatureServer/0',popupTemplate: {title: '图层弹窗Title',content: function (feature) {// 获取字段var attributes = feature.graphic.attributeslet html = '<div class="popup-template-content">'for (const key in attributes) {// 排除不要的属性if (['FID', 'OID_'].includes(key)) {continue}html += `<p class="field-row"><span class="dt">${key}:  </span><span class="db">${attributes[key]}</span></p>`}html += '</div>'return html},},});// 创建场景const map = new Map({layers: [stateBoundaryFeatureLayer],});// 创建场景const view = new SceneView({container: "viewDiv",map: map,popup: {dockOptions: {buttonEnabled: false}},qualityProfile: "high",environment: {lighting: {directShadowsEnabled: true}},});// 定义可视化样式let colorParams = {layer: stateBoundaryFeatureLayer,view: view,field: "SHAPE__Area",classificationMethod: "natural-breaks",valueExpression: "$feature.SHAPE__Area",theme: "high-to-low",numClasses: 10,symbolType: '3d-volumetric',};// when the promise resolves, apply the renderer to the layercolorRendererCreator.createClassBreaksRenderer(colorParams)// colorRendererCreator.createContinuousRenderer(colorParams).then(function (response) {stateBoundaryFeatureLayer.renderer = response.renderer;});// 高亮对象集合view.highlights = [{// 多选时高亮属性name: "multiselect",color: "#ff00ff",fillOpacity: 0.2,haloColor: "#ff00ff",haloOpacity: 0.6,},{// 选择框高亮属性name: "select-rectangle",color: "#00ffff",fillOpacity: 0.2,haloColor: "#ff0000",haloOpacity: 0.6,},{// 默认高亮属性name: "default",color: "gold",fillOpacity: 0.2,haloColor: "gold",haloOpacity: 0.8},];// 存储高亮要素对象this.highlights = [];// 创建标绘图层const polygonGraphicsLayer = new GraphicsLayer({elevationInfo: {// 贴地mode: 'on-the-ground'}});view.map.add(polygonGraphicsLayer);// 框选控件view.ui.add("select-by-rectangle", "top-left");const selectButton = document.getElementById("select-by-rectangle");// 创建标绘工具const sketchViewModel = new SketchViewModel({view: view,layer: polygonGraphicsLayer});// 用于高亮let polygonLayerView;view.whenLayerView(polygonGraphicsLayer).then((polygonLayerView_) => {polygonLayerView = polygonLayerView_})// 监听矩形标绘事件selectButton.addEventListener("click", () => {// 标绘矩形sketchViewModel.create("rectangle");// 移除上一次操作polygonGraphicsLayer.removeAll();// 移除上一次高亮对象if (this.highlights) {this.highlights.forEach((highlight) => {highlight.remove();});this.highlights = [];}});// 监听标绘完成事件sketchViewModel.on("create", async (event) => {// 绘制完成if (event.state === "complete") {const queryGeometry = event.graphic.geometry;polygonLayerView.highlight([event.graphic], {name: "select-rectangle"});if (this.campusLayerView) {// 获取矩形内几何对象const results = await this.campusLayerView.queryFeatures({geometry: queryGeometry,});// 框选对象设置多选高亮results.features.forEach((feature) => {const highlight = this.campusLayerView.highlight([feature.attributes.fid],// 设置多选高亮对象{name: "multiselect"});this.highlights.push(highlight);})}}});view.when(() => {// Define the attributes which are used in the querystateBoundaryFeatureLayer.outFields = ["*"];// Highlight is set on the layerView, so we need to detect when the layerView is readyview.whenLayerView(stateBoundaryFeatureLayer).then((campusLayerView) => {this.campusLayerView = campusLayerView;let highlightHover;let objectIdHover;// 用于悬浮高亮const debouncedUpdate = async function (event) {// 鼠标悬浮事件const hitTest = await view.hitTest(event, {include: stateBoundaryFeatureLayer});const results = hitTest.results.filter((result) => {return result.graphic.layer.popupTemplate;});const result = results[0];const newObjectId = result?.graphic.getObjectId();if (!newObjectId) {highlightHover?.remove();} else if (objectIdHover !== newObjectId) {highlightHover?.remove();objectIdHover = newObjectId;highlightHover = campusLayerView.highlight(result.graphic);}};// Listen for the pointer-move event on the Viewview.on("pointer-move", (event) => {debouncedUpdate(event).catch((err) => {throw err;});});});});});</script><style>html,body,#viewDiv {height: 100%;width: 100%;margin: 0;padding: 0;}h2 {text-align: center;}</style></head><body><div id="viewDiv"></div><divid="select-by-rectangle"class="esri-widget esri-widget--button esri-widget esri-interactive"title="Select features by rectangle"><span class="esri-icon-checkbox-unchecked"></span></div></body>
</html>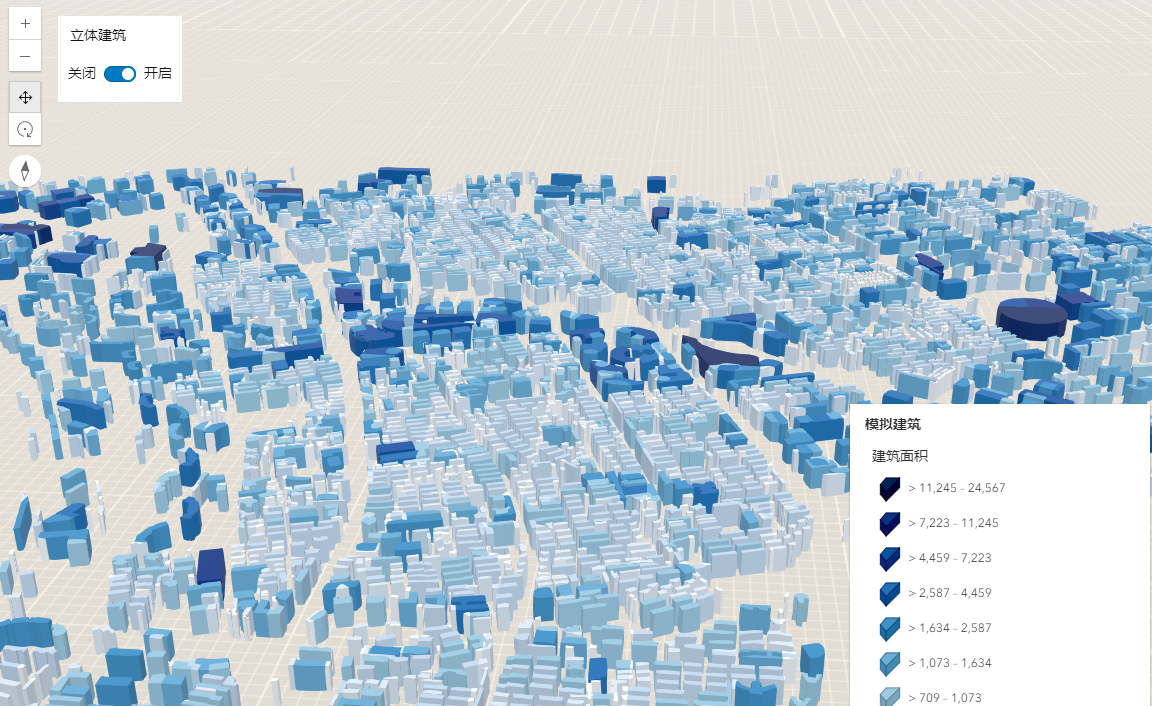
在线示例
ArcGIS Maps SDK for JavaScript 在线示例:高亮效果优化之开启使用多高亮样式