前期准备
(先使用Telnet远程连接工具,连接服务器,确保Telnet连接正常,SSH连接后进行漏洞修复升级(防止修复失败,导致远程连接无法连接时,可以通过另一个远程工具连接进行恢复)
telnet安装与开启:https://www.cnblogs.com/aerfazhe/p/19098482
准备离线升级安装包
OpenSSH下载地址:https://cdn.openbsd.org/pub/OpenBSD/OpenSSH/portable/
OpenSSL下载地址:https://openssl-library.org/source/
下载zlib地址:https://zlib.net/zlib-1.3.1.tar.gz
修复注意事项:确保系统中有OpenSSH版本依赖的对应OpenSSL版本,可能会导致以下错误:
checking for OpenSSL... configure: error: OpenSSL version is too old
查看openssh版本:sshd -V
查看openssl版本:openssl version
查看zlib版本:zlib-config --version
参考博客:https://blog.csdn.net/Tony1154/article/details/148926377
1、安装Openssl
 #解压文件
 tar -xf openssl-3.4.1.tar.gz -C /opt/
 #进入目录
 cd /opt/openssl-3.4.1
 #编译配置openssl安装目录
 ./config --prefix=/usr/local/openssl
 #安装
 make && make install
 #备份更新openssl
 mv /usr/bin/openssl /usr/bin/openssl_bak
 #复制openssl文件到/usr/bin/下
 cp /usr/local/openssl/bin/openssl /usr/bin/
 #添加动态链接库数据
 echo '/usr/local/openssl/lib64/' >> /etc/ld.so.conf
 #更新动态链接库
 ldconfig
 #进行验证
 openssl version
 #报错处理,无报错无需以下步骤:
 openssl: error while loading shared libraries: libssl.so.3: cannot open shared object file: No such file or directory
 #创建软连接
 ln -sf /usr/local/openssl/lib/libssl.so.3 /usr/lib/libssl.so.3
 # 更新链接库--(不懂软连接是什么,导致没执行这个命令一直失败= =)
 ldconfig
 # 再次验证
 openssl version
 #验证结果
 OpenSSL 3.4.1 11 Feb 2025 (Library: OpenSSL 3.4.1 11 Feb 2025)
1.1、openSSL安装报错
./config报错
报错如下:
Cant locate IPC/Cmd.pm in @INC (@INC contains: /disk1/bugfixes/OpenSSH/openssl-3.4.1/util/perl /usr/local/lib64/perl5 /usr/local/share/perl5 /usr/lib64/perl5/vendor_perl /usr/share/perl5/vendor_perl /usr/lib64/perl5 /usr/share/perl5 . /disk1/bugfixes/OpenSSH/openssl-3.4.1/external/perl/Text-Template-1.56/lib) at /disk1/bugfixes/OpenSSH/openssl-3.4.1/util/perl/OpenSSL/config.pm line 19.
BEGIN failed--compilation aborted at /disk1/bugfixes/OpenSSH/openssl-3.4.1/util/perl/OpenSSL/config.pm line 19.
Compilation failed in require at /disk1/bugfixes/OpenSSH/openssl-3.4.1/Configure line 23.
BEGIN failed--compilation aborted at /disk1/bugfixes/OpenSSH/openssl-3.4.1/Configure line 23.
# 则需要安装perl-IPC-Cmd模块
yum -y install perl-IPC-Cmd
安装后重新编译配置安装目录./config即可
make报错
# perl版本查看
perl -v
# 下载地址 https://vault.centos.org/7.9.2009/os/x86_64/Packages/
sudo yum install perl -y
报错:Can’t locate File/Compare.pm
:
# 则需要安装以下模块
yum install perl-File-Compare -y
安装后重新make
报错:Can’t locate Data/Dumper.pm
make 报错如下:
Can’t locate Data/Dumper.pm in @INC (@INC contains: Configurations .
# 则需要安装以下模块
yum install 'perl(Data::Dumper)'
安装后重新make
报错:Cannot create directory /usr/local/openssl1.1.1: Permission denied
报错如下:
Cannot create directory /usr/local/openssl1.1.1: Permission denied make: *** [Makefile:436:install_runtime_libs] 错误 2
# 当前用户没有权限在/usr/local目录下创建openssl1.1.1目录。在执行make install时,可以添加prefix参数,将openssl安装到可读写的目录下
./config --prefix=/home/用户名/openssl-1.1.1
make && make install
2、安装OpenSSH
安装zlib

 # 查看zlib版本
 pkg-config --modversion zlib
 # 解压安装
 tar -zxvf zlib-1.3.1.tar.gz -C /opt/
 cd /opt/zlib-1.3.1
 # 配合 库文件的生成路径 --libdir=/lib64/ --prefix=/usr/local/zlib 预安装目录,
 ./configure --prefix=/usr/local/zlib --libdir=/lib64/
 make && make install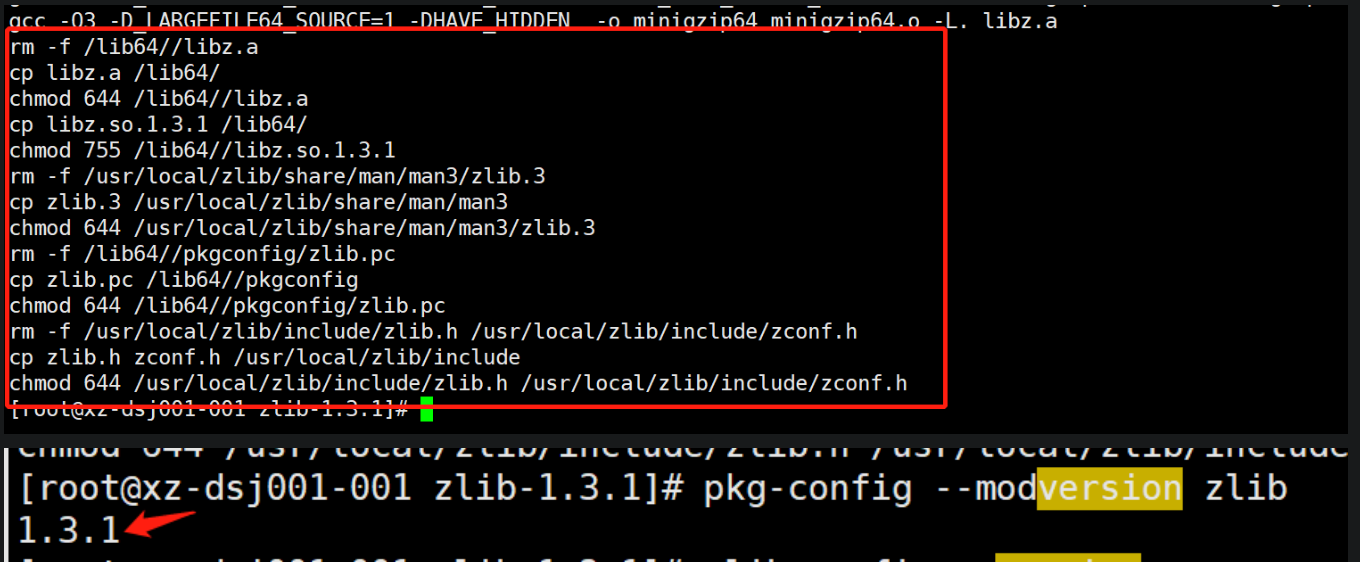
安装OpenSSH
# 备份当前配置文件
cp -rf /etc/ssh /etc/ssh.bak
cp -rf /usr/bin/ssh /usr/bin/ssh_bak
cp -rf /usr/bin/ssh-keygen /usr/bin/ssh-keygen_bak
cp -rf /usr/sbin/sshd /usr/sbin/sshd_bak
cp -rf /etc/pam.d/sshd /etc/pam.d/sshd_bak
# 若没有就无需备份
cp -rf /etc/pam.d/sshd.pam /etc/pam.d/sshd.pam_bak
# 下载并解压 OpenSSH 最新版本
wget https://cdn.openbsd.org/pub/OpenBSD/OpenSSH/portable/openssh-10.0p1.tar.gz
tar zxvf openssh-10.0p1.tar.gz
cd openssh-10.0p1
# 联网模式下安装依赖(离线模式无需操作)
yum install -y gcc openssl-devel zlib-devel wget
# 配置编译环境
./configure \
--prefix=/opt/openssh-10.0p1 \
--sysconfdir=/etc/ssh \
--with-ssl-dir=/usr/local/openssl \
--with-privsep-path=/var/lib/sshd \
--with-zlib=/usr/local/zlib \
--with-zlib-include=/usr/local/zlib/include
# 编译并安装 OpenSSH
make && make install
# (推荐软连接)
ln -sf /opt/openssh-10.0p1/sbin/sshd /usr/sbin/sshd //建立软连接
ln -sf /opt/openssh-10.0p1/bin/ssh /usr/bin/ssh //建立软连接
ln -sf /opt/openssh-10.0p1/bin/ssh-keygen /usr/bin/ssh-keygen //建立软连接
或复制文件
cp -rf /opt/openssh-10.0p1/sbin/sshd /usr/sbin/sshd
cp -rf /opt/openssh-10.0p1/bin/ssh /usr/bin/ssh
cp -rf /opt/openssh-10.0p1/bin/ssh-keygen /usr/bin/ssh-keygen
参考博客:https://blog.csdn.net/cwr888/article/details/147773704
# 启动并验证 SSH 服务
systemctl daemon-reload
service stop sshd
service start sshd
service restart sshd
service status sshd
systemctl enable sshd
systemctl start sshd
systemctl status sshd
# 启动失败,获取详细信息
journalctl -u sshd -xe--prefix 安装目录 --sysconfdir 配置文件目录 --with-ssl-dir 指定 OpenSSL 的安装目录 --with-privsep-path 非特权用户的chroot目录 --with-privsep-user=sshd 指定非特权用户为sshd --with-zlib 指定zlib库的安装目录 --with-ssl-engine 启用OpenSSL的ENGINE支持
--with-pam 登录身份认证,一般不需要启用,若要启用需要
如果启用PAM,需要有一个控制文件,按照提示的路径找到redhat/sshd.pam,并复制到/etc/pam.d/sshd,在/etc/ssh/sshd_config中打开UsePAM yes。发现连接服务器被拒绝,关掉就可以登录。


启动成功后

查看SSH版本:ssh -V

使用远程工具重新打开新的连接服务器,查看是否连接成功,连接成功则SSH升级成功!